Xcodeのスクリプトをほぼ無改造のままAndroidStudioでいけました
#pragma once

#include "ofMain.h"
#include "ofxAndroid.h"

#include "ofxOpenCv.h"

class ofApp : public ofxAndroidApp{

	public:

		void setup();
		void update();
		void draw();

		void keyPressed(int key);
		void keyReleased(int key);
		void windowResized(int w, int h);

		void touchDown(int x, int y, int id);
		void touchMoved(int x, int y, int id);
		void touchUp(int x, int y, int id);
		void touchDoubleTap(int x, int y, int id);
		void touchCancelled(int x, int y, int id);
		void swipe(ofxAndroidSwipeDir swipeDir, int id);

		void pause();
		void stop();
		void resume();
		void reloadTextures();

		bool backPressed();
		void okPressed();
		void cancelPressed();


	ofVideoGrabber movie;
	ofxCvColorImage rgb,hsb;
	ofxCvGrayscaleImage hue,sat,bri,filtered;
	ofxCvContourFinder contours;

	int w,h;
	int findHue;


};
メインはこちら
#include "ofApp.h"

//--------------------------------------------------------------
void ofApp::setup(){

	//add by me
	ofBackground(0,0,0);
	ofSetOrientation(OF_ORIENTATION_90_LEFT);
	w = 640;//default 320
	h = 480;//default 240

	movie.initGrabber(w, h, true);

	//reserve memory for cv images
	rgb.allocate(w, h);
	hsb.allocate(w, h);
	hue.allocate(w, h);
	sat.allocate(w, h);
	bri.allocate(w, h);
	filtered.allocate(w, h);
}

//--------------------------------------------------------------
void ofApp::update(){

	// add by me
	movie.update();

	if (movie.isFrameNew()) {

		//copy webcam pixels to rgb image
		rgb.setFromPixels(movie.getPixels(), w, h);

		//mirror horizontal
		rgb.mirror(false, false);//default (false, true)

		//duplicate rgb
		hsb = rgb;

		//convert to hsb
		hsb.convertRgbToHsv();

		//store the three channels as grayscale images
		hsb.convertToGrayscalePlanarImages(hue, sat, bri);

		//filter image based on the hue value were looking for
		for (int i=0; i<w*h; i++) {
			filtered.getPixels()[i] = ofInRange(hue.getPixels()[i],findHue-5,findHue+5) ? 255 : 0;
		}

		filtered.flagImageChanged();
		//run the contour finder on the filtered image to find blobs with a certain hue
		contours.findContours(filtered, 20, w*h/2, 2, false);//last numeric 2 is find maximum cout
	}

}

//--------------------------------------------------------------
void ofApp::draw(){
	//add by me
	ofSetColor(255,255,255);

	//draw all cv images
	rgb.draw(0,0);
	//hsb.draw(640,0);
	//hue.draw(0,240);
	//sat.draw(320,240);
	//bri.draw(640,240);
	//filtered.draw(0,480);
	//contours.draw(0,480);

	ofSetColor(255, 0, 0);
	ofFill();

	//draw red circles for found blobs
	for (int i=0; i<contours.nBlobs; i++) {
		ofCircle(contours.blobs[i].centroid.x, contours.blobs[i].centroid.y, 10);// last text 10 is radius od draw circle
	}

}

//--------------------------------------------------------------
void ofApp::keyPressed  (int key){

}

//--------------------------------------------------------------
void ofApp::keyReleased(int key){

}

//--------------------------------------------------------------
void ofApp::windowResized(int w, int h){

}

//--------------------------------------------------------------
void ofApp::touchDown(int x, int y, int id){

// add by me
//calculate local mouse x,y in image

int mx = x % w;
int my = y % h;

//get hue value on mouse position
findHue = hue.getPixels()[my*w+mx];

}

//--------------------------------------------------------------
void ofApp::touchMoved(int x, int y, int id){

}

//--------------------------------------------------------------
void ofApp::touchUp(int x, int y, int id){

}

//--------------------------------------------------------------
void ofApp::touchDoubleTap(int x, int y, int id){

}

//--------------------------------------------------------------
void ofApp::touchCancelled(int x, int y, int id){

}

//--------------------------------------------------------------
void ofApp::swipe(ofxAndroidSwipeDir swipeDir, int id){

}

//--------------------------------------------------------------
void ofApp::pause(){

}

//--------------------------------------------------------------
void ofApp::stop(){

}

//--------------------------------------------------------------
void ofApp::resume(){

}

//--------------------------------------------------------------
void ofApp::reloadTextures(){

}

//--------------------------------------------------------------
bool ofApp::backPressed(){
	return false;
}

//--------------------------------------------------------------
void ofApp::okPressed(){

}

//--------------------------------------------------------------
void ofApp::cancelPressed(){

}
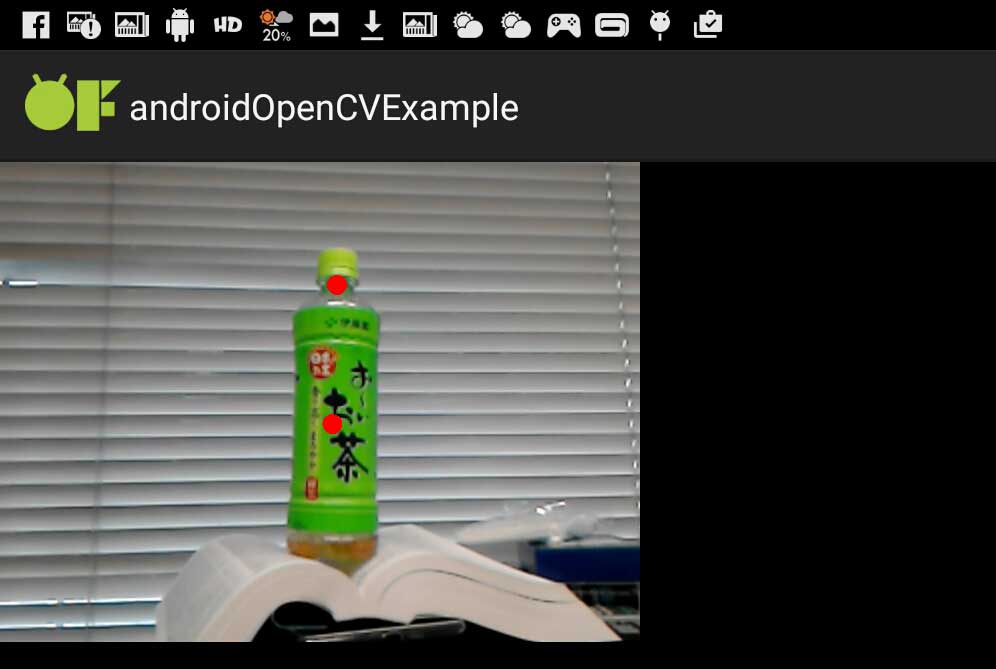
8行目で横向きモードにしています
35行目でカメラのミラー設定を無効にしています.実験がインカメラでしたが,バックカメラの場合は不要ですね.
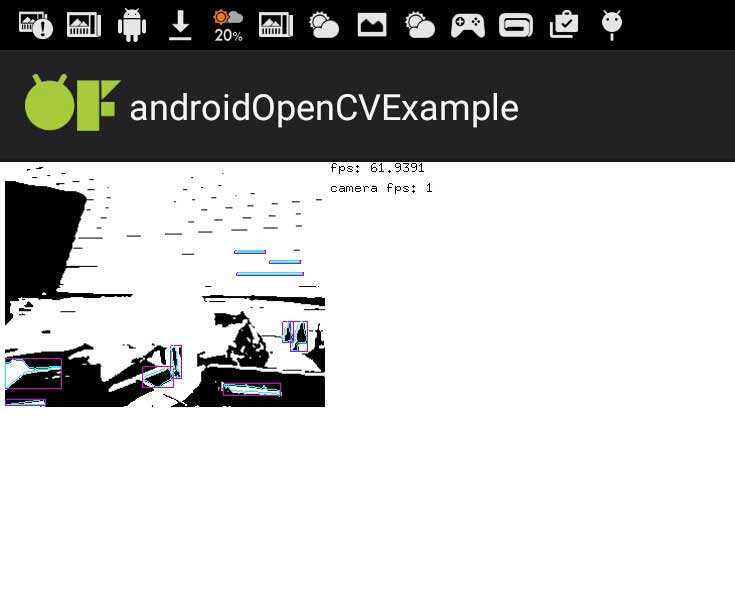
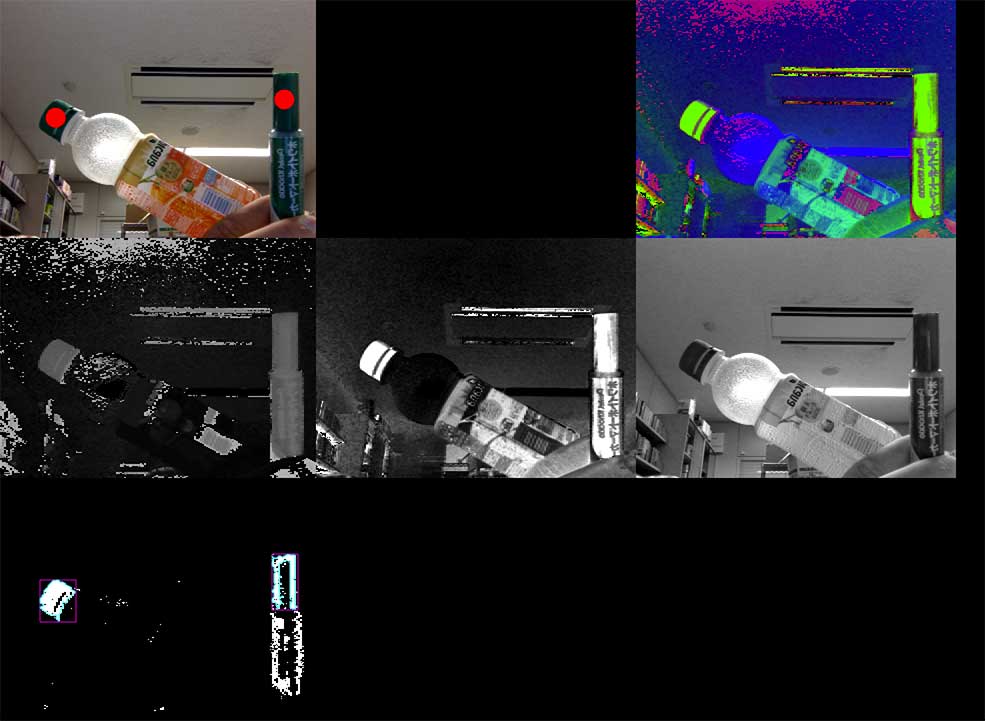
実行結果は以下