※下記は参考値です


※下記は参考値です
レンダリング
Maya操作動画をまとめました
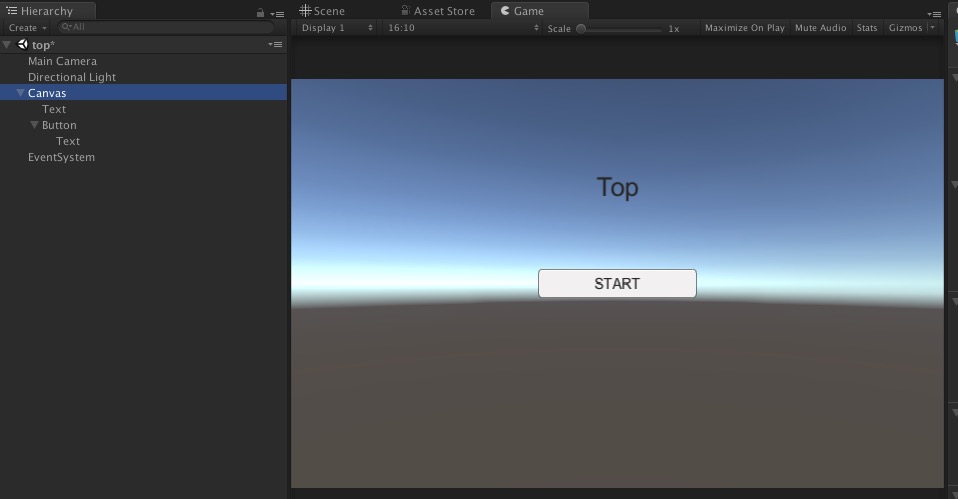
シーン遷移の基本を学びます.
ここでは,トップ画面>ゲーム画面>エンド画面の3つのシーンを移動しまたトップ画面へ戻ります.
ワークフロー
using System.Collections;
using System.Collections.Generic;
using UnityEngine;
using UnityEngine.SceneManagement;//これを必ず追加しないと使えない
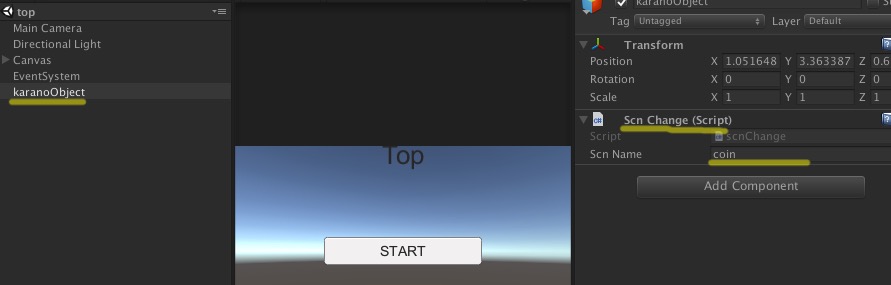
public class scnChange : MonoBehaviour {
public string scnName;//変数scnNameをInspectorからセットできるようにする
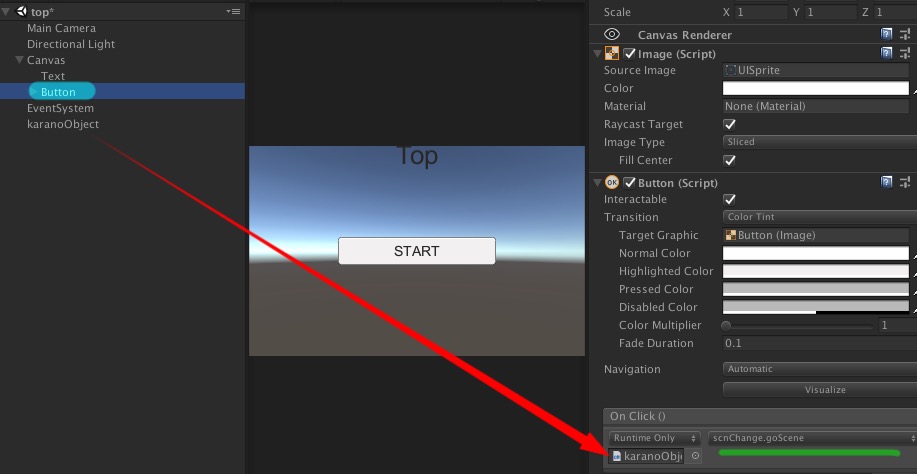
public void goScene(){
SceneManager.LoadScene(scnName);//変数scnNameのシーンにシーン遷移する
}
}

ultimate joystick用スクリプト
// BEGIN MIT LICENSE BLOCK //
//
// Copyright (c) 2016 dskjal
// This software is released under the MIT License.
// http://opensource.org/licenses/mit-license.php
//
// END MIT LICENSE BLOCK   //
using UnityEngine;

[RequireComponent(typeof(Camera))]
public class followCam3 : MonoBehaviour
{
    public Transform Target;
    public float DistanceToPlayerM = 2f;    // カメラとプレイヤーとの距離[m]
    public float SlideDistanceM = 0f;       // カメラを横にスライドさせる;プラスの時右へ,マイナスの時左へ[m]
    public float HeightM = 1.2f;            // 注視点の高さ[m]
    public float RotationSensitivity = 100f;// 感度
    public float limitMax = 0.4f;
    public float limitMin = -0.4f;

    void Start()
    {
        if (Target == null)
        {
            Debug.LogError("ターゲットが設定されていない");
            Application.Quit();
        }
    }

    void FixedUpdate()
    {


       // var rotX = Input.GetAxis("Mouse X") * Time.deltaTime * RotationSensitivity;
       // var rotY = Input.GetAxis("Mouse Y") * Time.deltaTime * RotationSensitivity;

        float rotX = UltimateJoystick.GetHorizontalAxis("camStick")* Time.deltaTime * RotationSensitivity;
        float rotY = UltimateJoystick.GetVerticalAxis("camStick")* Time.deltaTime * RotationSensitivity;

        var lookAt = Target.position + Vector3.up * HeightM;

        // 回転
        transform.RotateAround(lookAt, Vector3.up, rotX);
        // カメラがプレイヤーの真上や真下にあるときにそれ以上回転させないようにする
        if (transform.forward.y > limitMax && rotY < 0)//default 0.9
        {
            rotY = 0;
        }
        if (transform.forward.y < limitMin && rotY > 0)
        {
            rotY = 0;
        }
        transform.RotateAround(lookAt, transform.right, rotY);

        // カメラとプレイヤーとの間の距離を調整
        transform.position = lookAt - transform.forward * DistanceToPlayerM;

        // 注視点の設定
        transform.LookAt(lookAt);

        // カメラを横にずらして中央を開ける
        transform.position = transform.position + transform.right * SlideDistanceM;
    }
}
参考サイト
https://dskjal.com/unity/tps-camera.html
つづきです
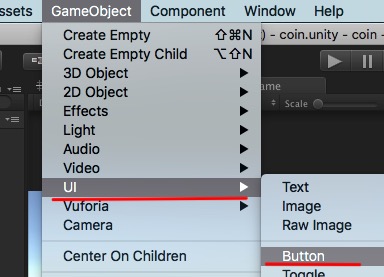
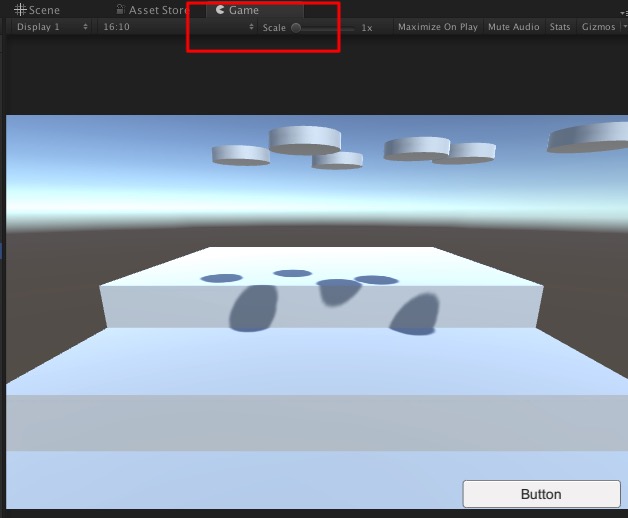
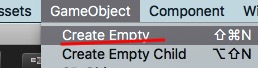
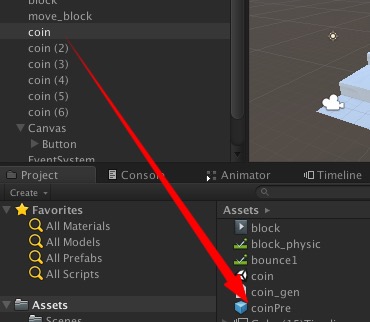
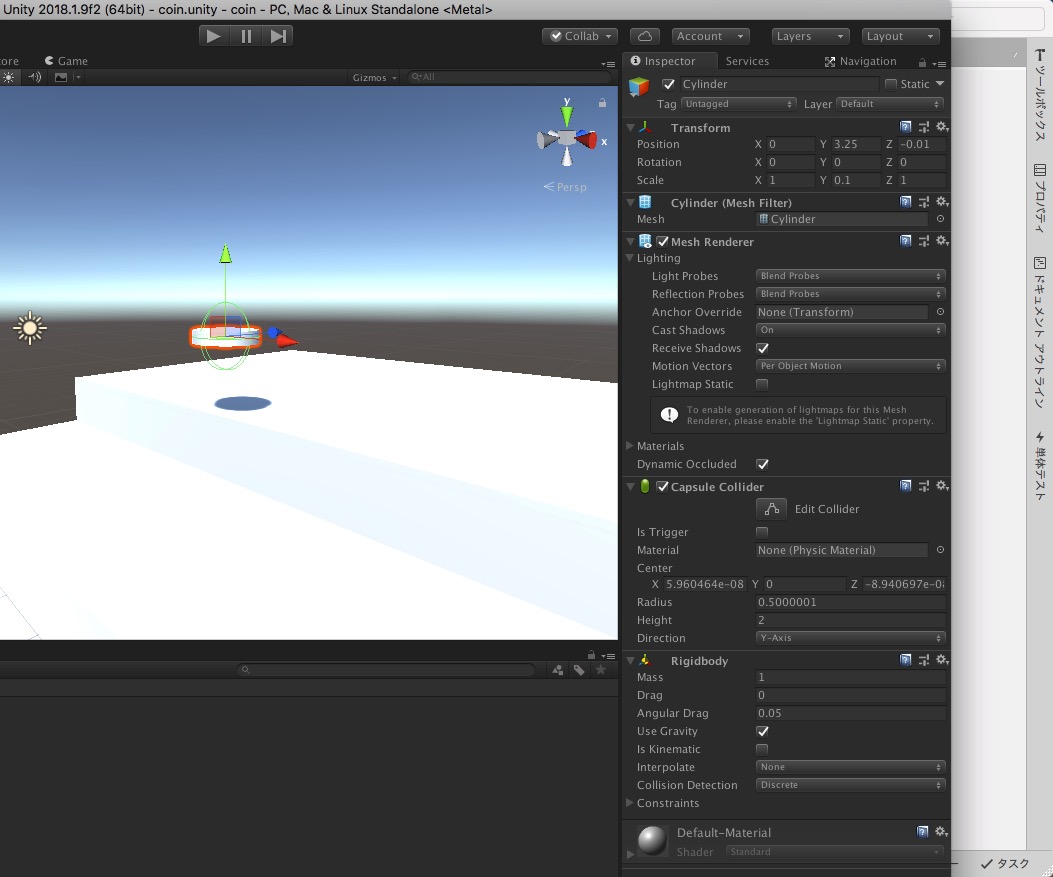
次にボタンを押すとコインが落ちる仕組みを作成する
まず,
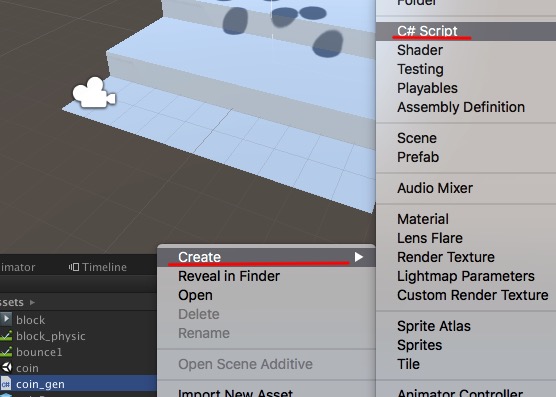
using System.Collections;
using System.Collections.Generic;
using UnityEngine;
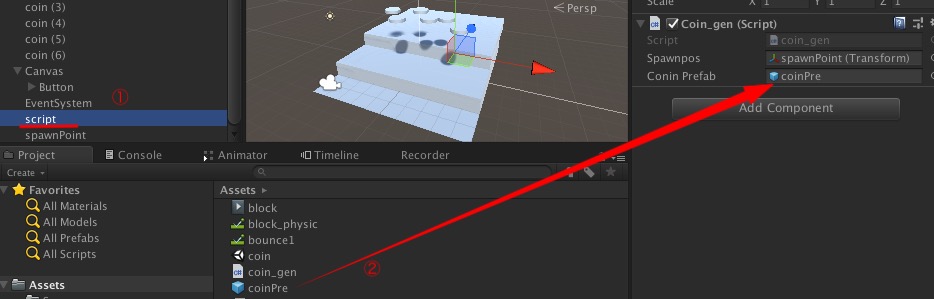
public class coin_gen : MonoBehaviour {
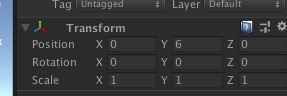
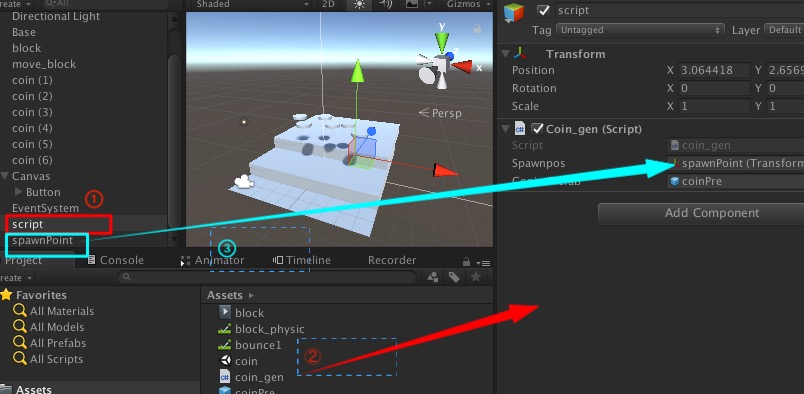
public Transform spawnpos;//インスペクタに位置情報用のドロップボックスを表示
public GameObject coninPrefab;//プレファブをアサインするドロップボックスを表示
void Start () { }
// Update is called once per frame
void Update () { }
//public化することでボタンからクリックで実行きるようになる
public void genBtn(){
Vector3 pos = spawnpos.transform.position;//spawnposの位置をvector3形式にし,posに入れる
Instantiate(coninPrefab, pos, Quaternion.identity);//coninPrefabを生成させる
}
}
時間があればさらに改造してみましょう.
追記(2018/10/12)
落ちてきたコインを消すスクリプト.コライダにアタッチする.ファイル名はdestroy.csとする.
using System.Collections;
using System.Collections.Generic;
using UnityEngine;

public class destroy : MonoBehaviour {

public void OnTriggerEnter(Collider other){ Destroy(other.gameObject); }

}
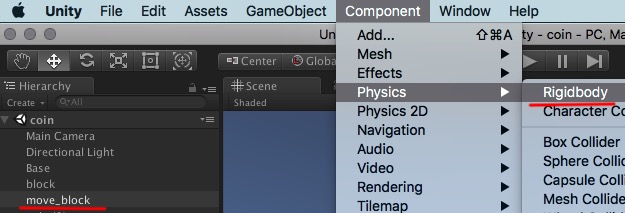
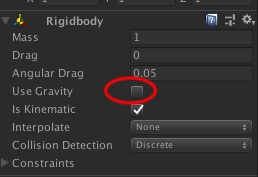
追記(2019/12/03)
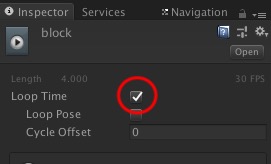
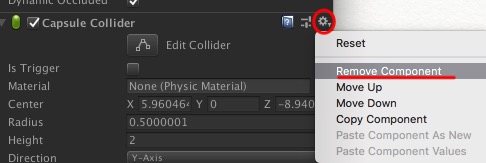
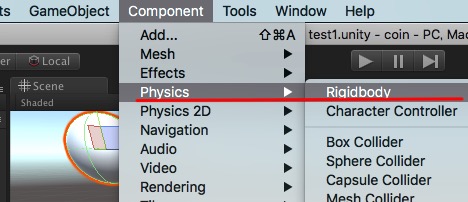
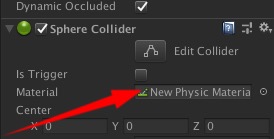
move-blockがコインで弾かれる方は以下の設定をする
(A)move-block>RigidBody>Constrain のFreeze PositionをZ以外に全てチェックを入れる
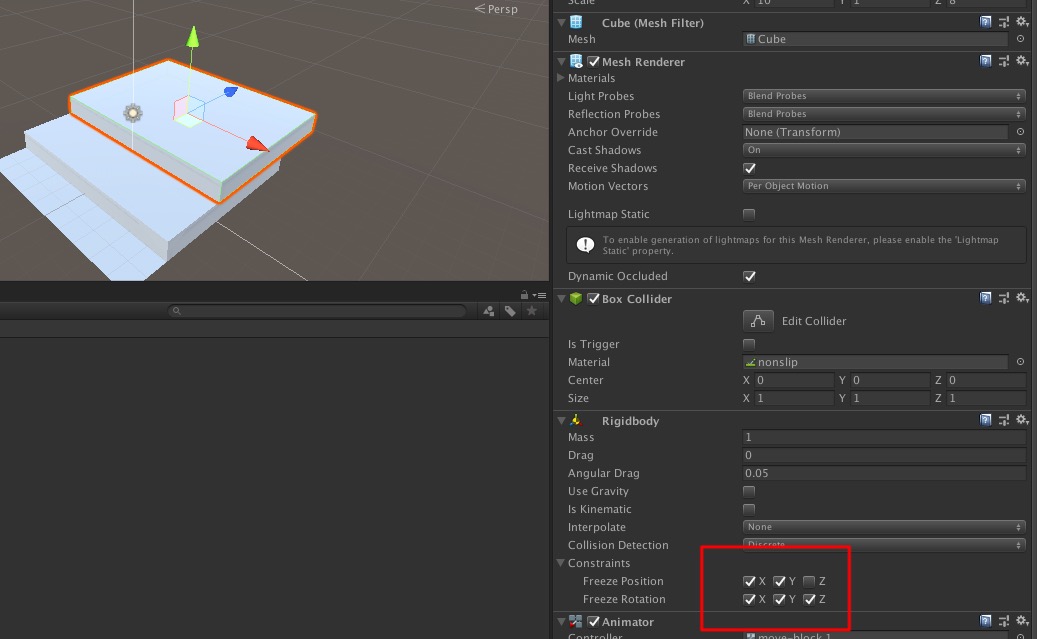
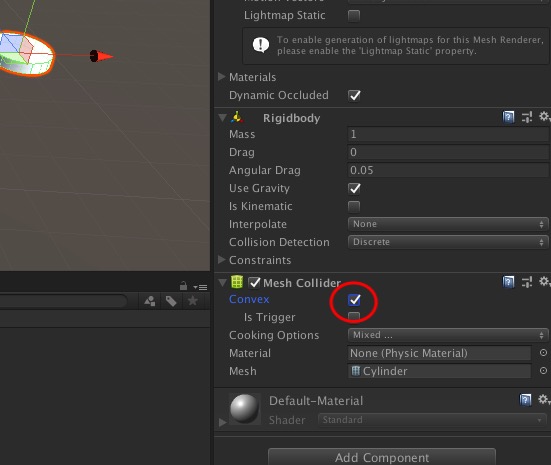
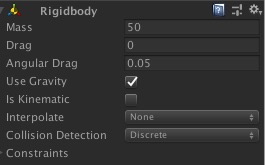
(B)Coin(Prefab)のRigidBodyのMassをなるべく軽くする(0.05 kg)など

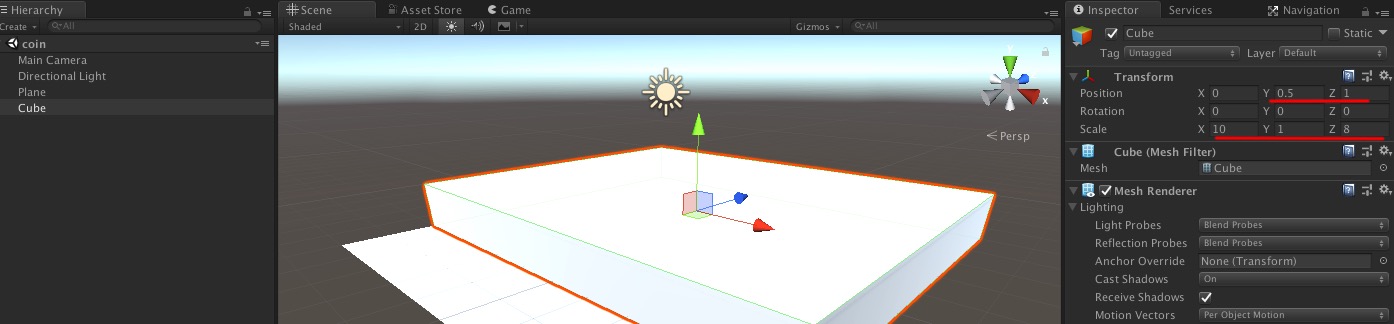
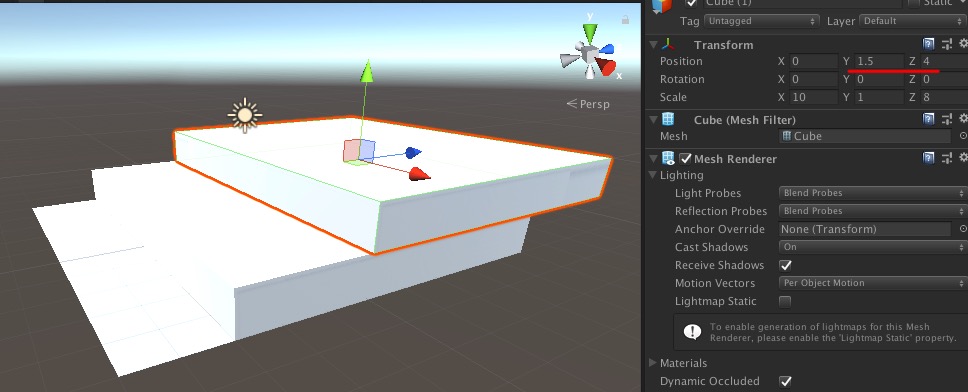
つづき
(次へ)
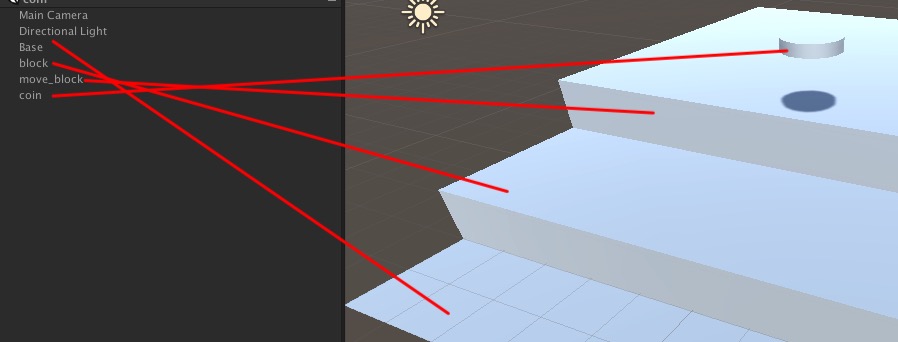
コインドーザー(コインプッシャー)を作成してみましょう.この内容は
を演習します.

(つぎへ)
復習や練習を兼ねてピタゴラ装置的な物を作ってみること
最後にオチがあることが望ましい.障害物は多いほどいい.
こうした物理シミュレーションを応用して作成できそうなゲームやプロジェクトを考えてみてください.コインドーザーやピンボールなどもその一例です.
また物理演算を使いYoutubeで動画を作成している方もいます.(アンパンマンの頭をアニメのように入れ替え(以下略)や,竹コプターを(以下略)のような動画)
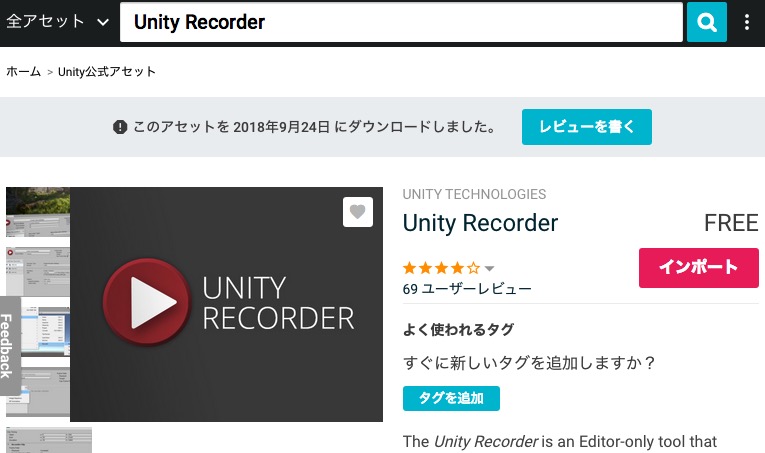
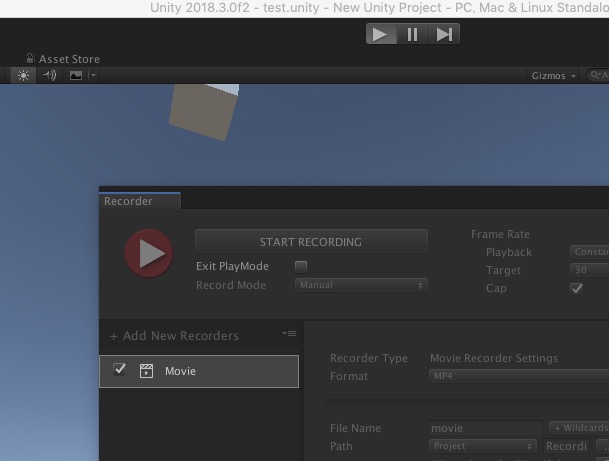
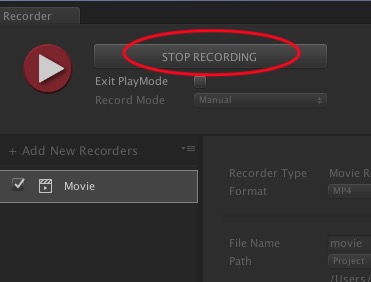
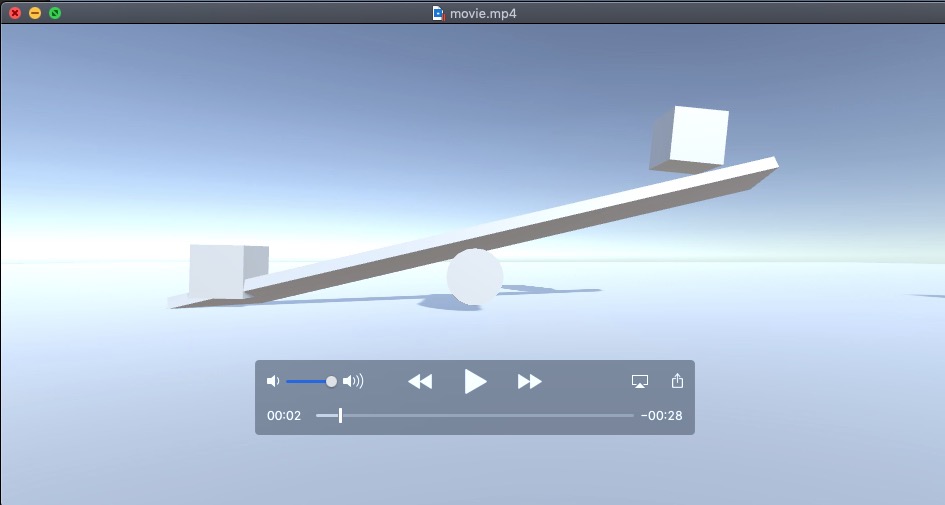
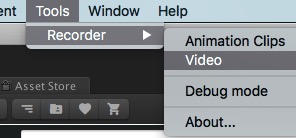
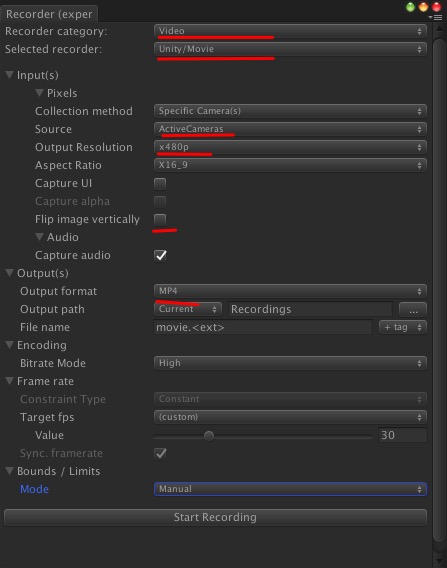
動画のキャプチャーがうまく行きそうな場合,キャプチャーした動画を提出してもらう予定です.
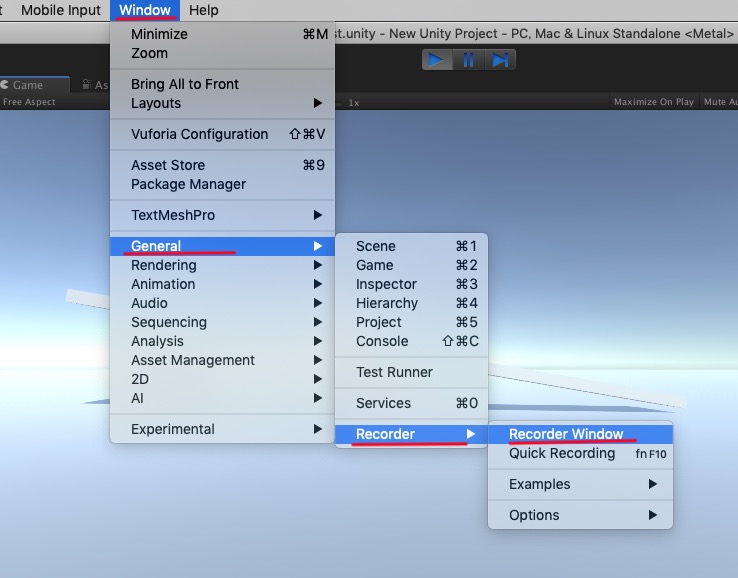
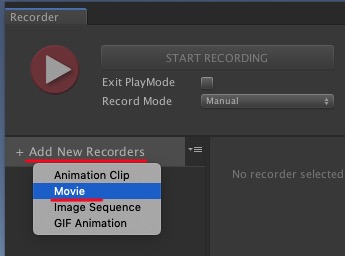
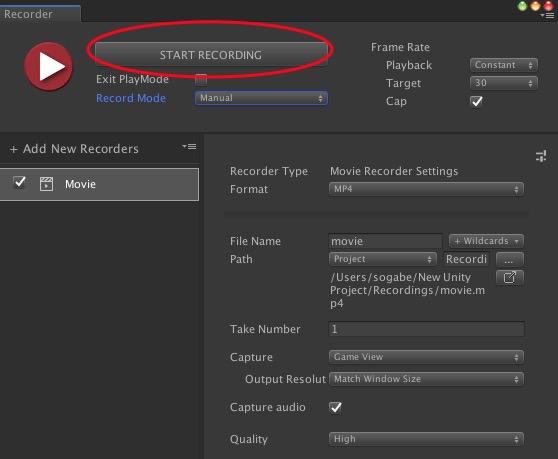
Unityから提供されているRecorderアセットを読み込み,作成したシミュレーションを動画にし提出してもらいます.